
Friday, 3 February 2012
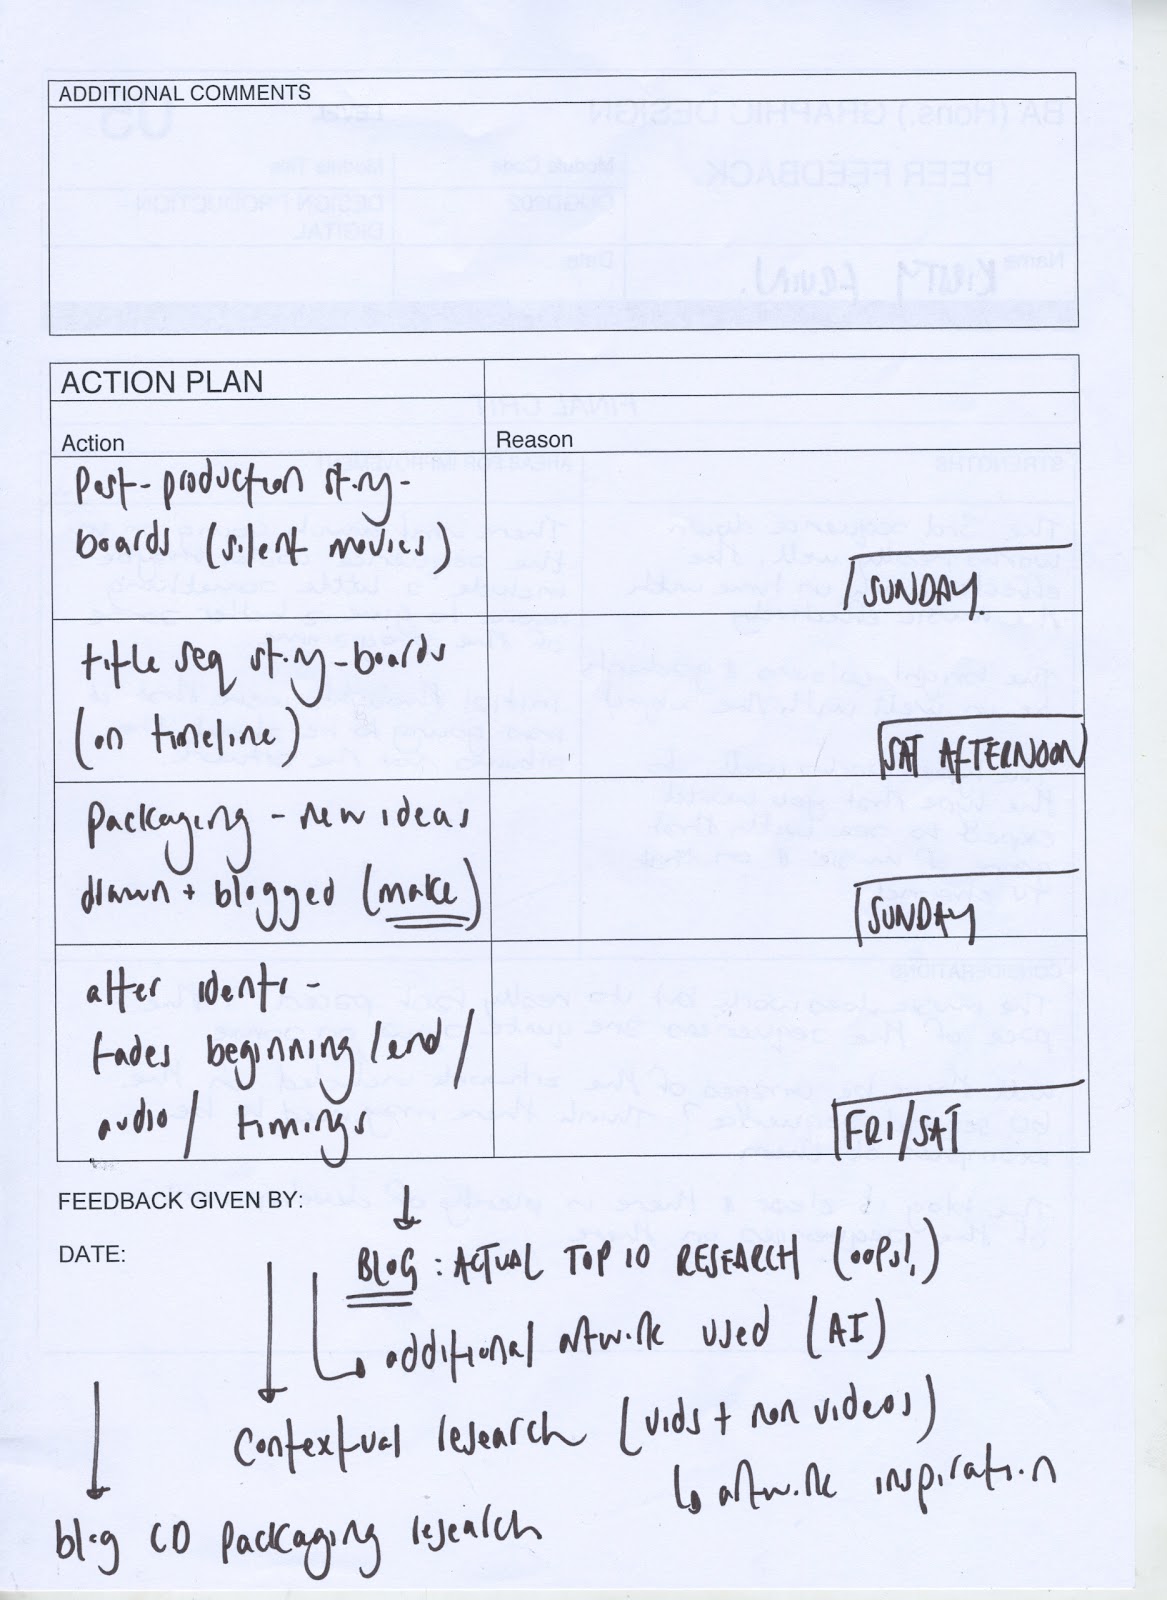
Action Plan for the Weekend
Although I have almost completed my title sequence, I still have a lot of other aspects of my design process which I need to blog and carry out. So I have devised an action plan for the weekend....

Title Sequence Adjustments
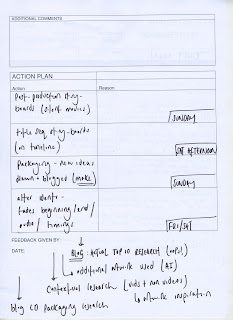
As I wanted to work to one set of beats only, I marked on the timeline where these beats occurred so that i could then keyframe my movements to these...

I then begun key framing these movements to the markers.
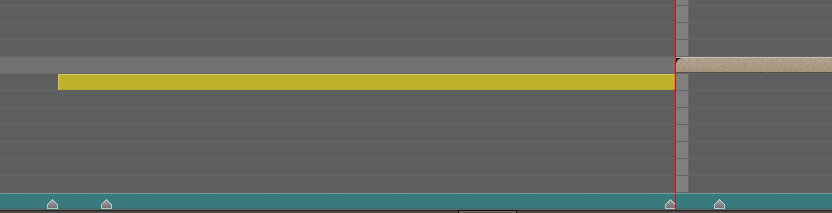
Holding 'alt' and dragging the keyframes to make the transition occur quicker but at the same pace.....


I know need to move the key framing of the flipping numbers so that the number stop spinning at the end of the type '2,00o albums artworks' so that it can then run into the '50 million albums sold type' without running back on itself.

I moved the keyframes further apart allowing the proportions to remain the same.


I then cropped the embedded composition so that it lined up with the beat of the audio.

All of the type in the latter half of my title sequence now line up with the beats of the audio....
now need to sort out audio as there seems to be a dip in the beat from where I looped the first part of the audio and they join together. To this I am going to adjust the keyframe I made by increasing the volume of the beginning and endings of each piece so that the volume is the same at both of these and therefore runs smoothly. This going to be around -9 dB.

I have also better timed the transitions of the gradients in the opening sequence due to them being slightly off time. I have now copied and pasted the same opacity key frames into all the 4 layers so that when each gradient is revealed, the time at which they appear is the same.


I am going to leave my title sequence for now, go back and make a few alterations to my idents then come back and look at this with a fresh pair of eyes (as I have learnt, you can get engrossed in your work and not see how wrong it is until you later view it!!!!)
This is the resulting title sequence after the changes I have made...
Logo Easy Ease
In realising that the pulsing motion of my ministry of sound logo needed adjusting a little due to the pump not being smooth enough, I tried to using easy ease in for the keyframe into the pump...


and easy ease out for the keyframes coming out of the pump....


and easy ease out for the keyframes coming out of the pump....


This has slightly altered the transition to make it a little smoother, althoughI am not sure that in the scheme of things it will make a large difference.
Thursday, 2 February 2012
Todays outcome...
I have worked a fair bit on my title sequence today, I am not sure if I am liking it and have realised that I really have used the wrong audio...it is far too faced paced for a title sequence (and I have no knowledge of how to alter this). Anyway, this is what I produced today...
I need to key frame the logo pump with 'easy ease' to produce a smoother pump. I also need to work on the ending of the sequence as it stops quite abrupt.
Looking at this with a fresh pair of eyes now I am home, I have realised I have got quite a bit of work to do with this. I think the first half is okay but the second half definitely needs some work doing to it. I need to stick to one beat within the audio and keyframe everything to those because at the moment I am switching between two different sets of beats. If I can do this, I should be able to keep the transitions I have made and simply alter their position within the sequence. I am really not happy with this sequence at the moment as it is so ill-timed at the transition between frames are not very smooth. I am going to leave it for today and look at it fresh tomorrow.
I need to key frame the logo pump with 'easy ease' to produce a smoother pump. I also need to work on the ending of the sequence as it stops quite abrupt.
Looking at this with a fresh pair of eyes now I am home, I have realised I have got quite a bit of work to do with this. I think the first half is okay but the second half definitely needs some work doing to it. I need to stick to one beat within the audio and keyframe everything to those because at the moment I am switching between two different sets of beats. If I can do this, I should be able to keep the transitions I have made and simply alter their position within the sequence. I am really not happy with this sequence at the moment as it is so ill-timed at the transition between frames are not very smooth. I am going to leave it for today and look at it fresh tomorrow.
2,000 Opacity
I decided I wasn't keen on the 2,000 changing it's opacity in the way which it did, I think it would be more effective for it to remain on screen the whole time as it would then allow the reader to reader it, rather than it vanish half way through. So changed it from this....
to this....
to this....
Rolling type
I have today learnt how to make my type roll so I can make the transition from one piece of type to another. It took a while, but I got there in the end.....
At first I thought I would have to have each word on a separate layer, so I set about producing this in Illustrator...

At first I thought I would have to have each word on a separate layer, so I set about producing this in Illustrator...

However, after asking peers I found out that I can used the transition tool to in AfterEffects if I used the type tool within the software to create this effect...
So far....
This is what I have managed to achieve today. I have slowed the type down; leaving it on the screen for longer so that it can (hopefully) be read. I still have 20 seconds to fill but I have a few facts which need to be revealed so theres plenty of time for that...
Subscribe to:
Posts (Atom)