


Black line = edge of page/where trimmed down to
Blue line = margin guide
Red margin = bleed guide
w = print preview

Create empty format
Text...
apple/shift/r = right alignment
apple/shift/c =centre alignment
apple/shift/l = left alignment

fewer, more useful default swatches

x =switches stroke and fill


Colour applied to container or text

create new colour swatch...


colour type: process
mix inks/change percentages


can change tint percentage but not colour mix.


If change 100% swatch, any tints will also change.

...for spot colour.


circle in square shows it is spot colour.
Images
Prepare images in photoshop/Illustrator, then import them in....
Photoshop:
Colour mode = cmyk/greyscale/duotone/monotone NOT rgb
Resolution = 300 dpi
Actual size ..if you make something larger in InDesign you lower the resolution = pixelated image
Format = tiff/psd/pdf/jpeg/ .....avoid jpeg as it compresses the image
psd = transparency maintained within the image
Illustrator:
Colour mode = cmyk
No need to worry about resolution
No dpi ...its had not pixels, it's infinite
Format = Illustrator file
Placing an image

no need to make a frame if image is correct size


2 spot colours automatically applied to swatch palette.
Placing Illustrator artwork


Again, spot colours transfer.

Transparency will remain with artwork.


...can make choices about how artwork will be placed.

Low quality artwork (particularly with Illustrator files)
...low resolution preview of file. Purpose is to position image on page in relation to all other elements on page. Image not imported into file ..need to save into folder with inDesign doc.

Links tab shows where all images are.
Can still make changes to image in Photoshop after being placed on the page and image when consequently be adjusted.
Right click image...

Press alt + double click image ....Illustrator will automatically open.

Change file

...save

Automatically change in inDesign.

Find image in finder


To make a tiff file open up in Photoshop when double clicked rather than Preview. Click 'change all' at end.


...pre-set fill colour = black


...click image& change colour by clicking swatch.
Printing Colour Separations


Default output = composite cmyk

Output ...separations

Results in 5 separated prints
Alternatively...

...view separations.

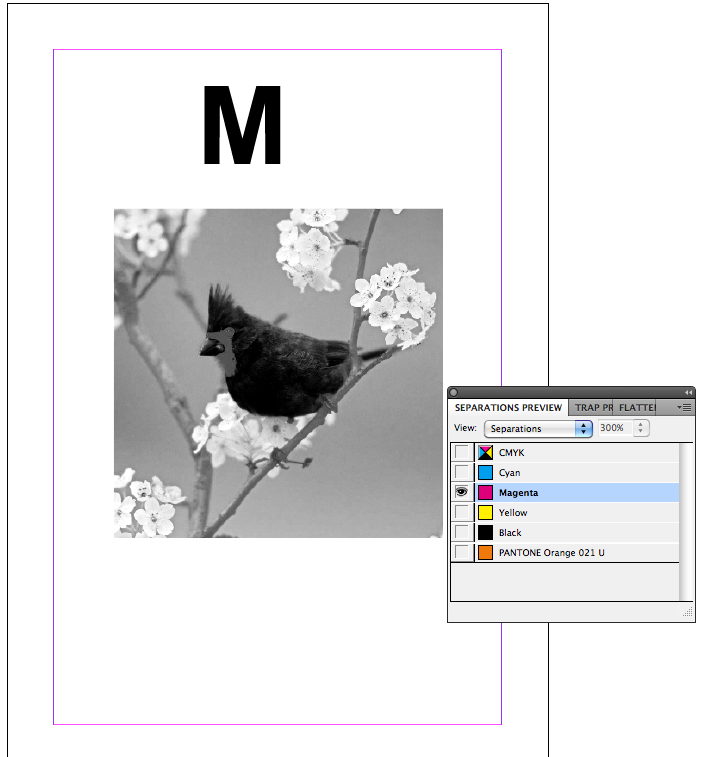


..view each separation by clicking on the square next to channel.

Any spot colour in document swatch will be available to print. Check separations to ensure all inks in separations are being used within the artwork to be printed. Delete any unused spot colours from palette.

...clean up as you go along!


...separations of two overlapping colours.
This is referred to as 'knocking out'
This is done to prevent other colours being made.


The only colour that does not do this is black ...it 'overprints'


This only works with objects.

Click object and click 'Overprint fill'
This may not change when printing out though...more for commercial print process. Should be discussed with printers if want this effect; too much ink can be applied to the paper.

...value of ink on certain area is shown as a percentage when hover over with the mouse.


Ink limit ...red demonstrates too much ink.
To print a spot varnish, use a spot colour but tell the printer not to print the spot colour used but to use a print that is to apply a varnish instead.
Spot colour will knockout all the other colours ...this will not work for a varnish as the colours beneath will not be visible, therefore this needs to be an 'overprint fill.'
No comments:
Post a Comment