
As I wanted to work to one set of beats only, I marked on the timeline where these beats occurred so that i could then keyframe my movements to these...
I then begun key framing these movements to the markers.
Holding 'alt' and dragging the keyframes to make the transition occur quicker but at the same pace.....


I know need to move the key framing of the flipping numbers so that the number stop spinning at the end of the type '2,00o albums artworks' so that it can then run into the '50 million albums sold type' without running back on itself.

I moved the keyframes further apart allowing the proportions to remain the same.

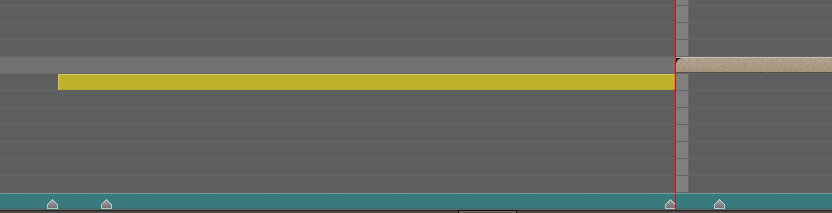
I then cropped the embedded composition so that it lined up with the beat of the audio.

All of the type in the latter half of my title sequence now line up with the beats of the audio....
now need to sort out audio as there seems to be a dip in the beat from where I looped the first part of the audio and they join together. To this I am going to adjust the keyframe I made by increasing the volume of the beginning and endings of each piece so that the volume is the same at both of these and therefore runs smoothly. This going to be around -9 dB.

I have also better timed the transitions of the gradients in the opening sequence due to them being slightly off time. I have now copied and pasted the same opacity key frames into all the 4 layers so that when each gradient is revealed, the time at which they appear is the same.


I am going to leave my title sequence for now, go back and make a few alterations to my idents then come back and look at this with a fresh pair of eyes (as I have learnt, you can get engrossed in your work and not see how wrong it is until you later view it!!!!)
This is the resulting title sequence after the changes I have made...
No comments:
Post a Comment